
Mod 配置页
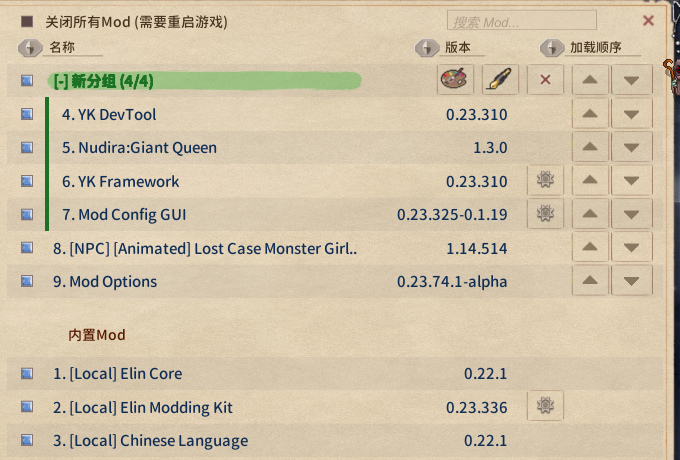
每个 mod 都可以有自己的配置页,从 Mod 查看器里它那一行打开。BepInEx 插件会按 Config.Bind 过的条目自动生成页面;想自己排版就实现 IModConfig。
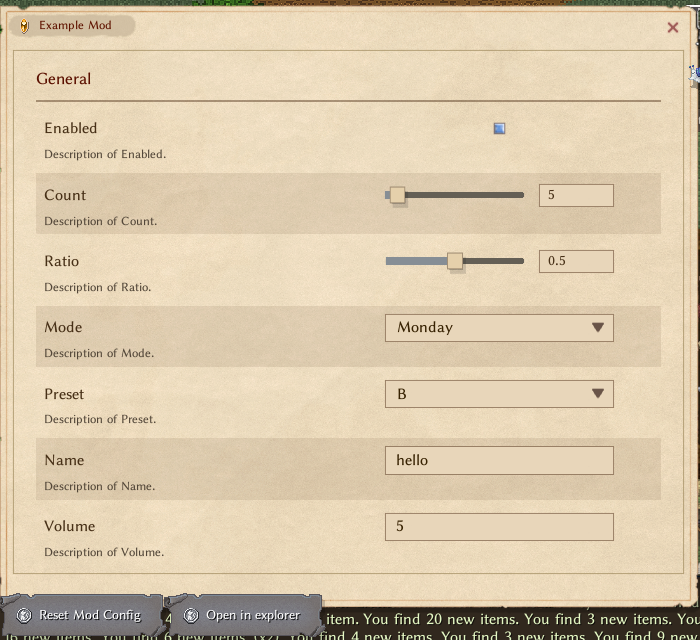
生成的页面:
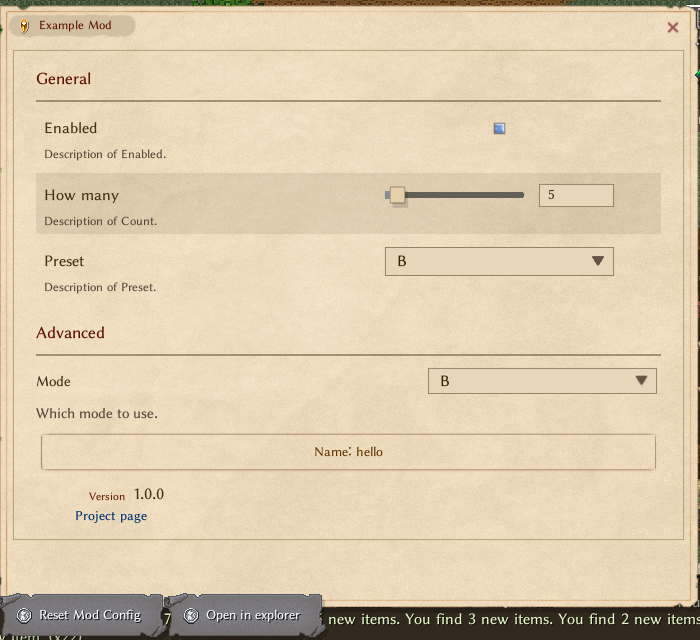
自己排版:IModConfig
实现了 IModConfig 的插件不会自动生成页面,整页都在 OnBuildConfig 里自己搭:
扩展(using EModding;) | 得到什么 |
|---|---|
note.AddAll(Config) | 整个自动生成的页面,含分节 |
note.Add(entry) | 一行:标签、按条目类型选的控件、说明、重置按钮 |
note.AddSlider(entry, min, max, label = null) | 一行 min~max 的滑条,不用条目自己声明的区间;返回这一行的 Slider |
note.AddDropdown(entry, values, label = null) | 一行以 values 为候选的下拉,任何条目类型都行;返回的 UIDropdown 已绑定到条目,不要再对它 SetList(自己的列表用 note.AddDropdown(label)) |
它们都直接读写条目。分节名、标签(条目的 Key)、说明、下拉选项都以字符串本身为 id,用 Lang.Get 查找译文。没有对应行时,Key、分节名、下拉选项会拆成单词显示(ProtectionWeight 显示为 Protection Weight),说明原样显示。要翻译,就在 mod 的 LangMod 文件夹里的 General 表中以这些字符串为 id 加行(见新手指南:填表制作 Elin 模组):
| id | filter | text_JP | text |
|---|---|---|---|
| ProtectionWeight | 防御の重み | Protection weight | |
| Score per point of PV. | PV 1 点あたりのスコア | Score per point of PV. |
玩家一改,值就写进条目。只在 Awake 里读配置的插件要重启才生效,请在说明里写明;想即时生效,订阅条目的 SettingChanged。页面每次打开都会重建,不要保存控件引用;不是 ConfigEntry 的状态放在自己的字段里,在回调中读写。
cs
using System.Collections.Generic;
using BepInEx;
using BepInEx.Configuration;
using EModding;

[BepInPlugin("author.example", "Example", "1.0.0")]
public class ExamplePlugin : BaseUnityPlugin, IModConfig {
	public ConfigEntry<bool> enabled;
	public ConfigEntry<int> count;
	public ConfigEntry<string> preset;
	public string mode = "B", name = "hello";

	void Awake() {
		enabled = Config.Bind("General", "Enabled", true);
		count = Config.Bind("General", "Count", 5);
		preset = Config.Bind("General", "Preset", "b");
	}

	public void OnBuildConfig(UINote note) {
		note.AddHeader("General");
		note.Add(enabled);                                   // 开关
		note.AddSlider(count, 0, 100, "How many");           // 滑条,不需要 AcceptableValueRange
		note.AddDropdown(preset, ["a", "b", "c"]); // 固定候选

		note.AddHeader("Advanced");

		// 不是 ConfigEntry 的值用普通的 UINote 方法
		var modes = ["A", "B", "C"];
		var dd = note.AddDropdown("Mode");
		dd.SetList(modes.IndexOf(mode), modes, (m, i) => m, (i, m) => mode = m, false);
		note.AddText("Which mode to use.", FontColor.Passive);

		UIButton b = null;
		b = note.AddButton("Name: " + name, () => Dialog.InputName("Name", name, (cancel, text) => {
			if (cancel) return;
			name = text;
			b.mainText.text = "Name: " + text;
		}, Dialog.InputType.Chat));

		note.AddTopic("Version", Info.Metadata.Version.ToString());
		note.AddButtonLink("Project page", "https://example.com/");
	}
}要保留自动页面再加几项,先调用 note.AddAll(Config);,再往后加。
想让重置按钮也重置你自己的状态,就往包的 onResetConfig 上追加委托。Config 里的条目会自动重置,这里只需处理自己的部分:
cs
void Start() {
	var pkg = ModUtil.FindFileProviderPackage(new FileInfo(Info.Location));
	if (pkg != null) {
        pkg.onResetConfig += () => mode = "B";
    }
}UINote 速查
| 方法 | 得到什么 |
|---|---|
AddHeader(string) / AddHeaderTopic(string) | 分节标题(自动页面用的就是它)/ 小标题 |
AddToggle(string label, bool isOn, Action<bool>) | 开关,返回 UIButton |
AddSlider(float value, Func<float,string> action, float min = 0, float max = 1, bool isInt = false) | 滑条,action 接收值并返回标签文字,返回 Slider |
AddDropdown(string label) | 标签加下拉,返回 UIDropdown,用 SetList(index, list, getName, onChange, notify: false) 填 |
AddButton(string text, Action) | 整行按钮,返回 UIButton |
AddText(string) / AddText(string, FontColor.Passive) | 正文,自动换行 |
AddTopic(string label, string value) | 左标签右值 |
AddButtonLink(string text, string url) | 链接 |
Space(int height) | 空行 |
AddImage(Sprite) / AddPrefab(string path) | 图片 / 自带 prefab |